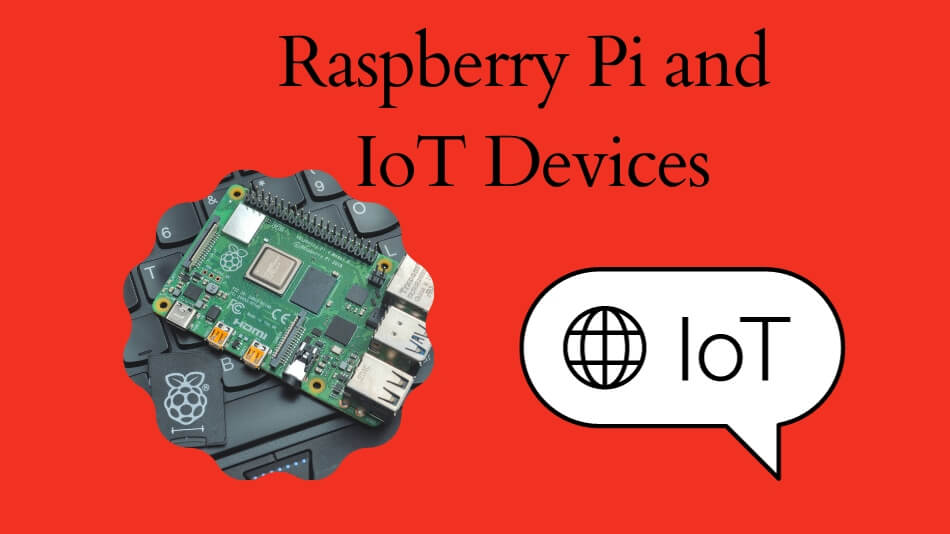
Teamviewer IoT Raspberry Pi: Revolutionizing Remote Access And Control
TeamViewer IoT Raspberry Pi has become a buzzword in the tech world, and for good reason. As the Internet of Things (IoT) continues to expand, integrating tools like TeamViewer with Raspberry Pi is transforming how we approach remote management. Imagine controlling your smart home devices, automating industrial processes, or troubleshooting remote systems—all from the comfort of your desk. That’s the power of this dynamic duo. In this article, we’ll dive deep into how TeamViewer and Raspberry Pi can work together to create smart solutions that cater to both hobbyists and professionals alike.
Whether you're a tech enthusiast looking to build your own IoT projects or a business owner seeking to streamline operations, TeamViewer IoT Raspberry Pi offers endless possibilities. By combining the flexibility of Raspberry Pi with the robust remote access capabilities of TeamViewer, you can unlock new ways to interact with your connected devices. Let’s explore what makes this combination so special and how it can benefit you.
In today’s fast-paced world, staying connected is no longer just a convenience—it's a necessity. From monitoring weather stations to managing fleets of drones, TeamViewer IoT Raspberry Pi gives you the tools to stay in control no matter where you are. So, if you're ready to learn how to harness the power of these technologies, keep reading. This guide is packed with actionable insights, tips, and tricks to help you get started.
- Whats The Buzz About Sismsu Lets Dive In
- June 11 Zodiac Sign Unveiling The Mystical Gemini Traits And Secrets You Need To Know
What is TeamViewer IoT?
TeamViewer IoT is a cutting-edge solution designed specifically for managing and controlling Internet of Things devices remotely. Unlike traditional remote desktop software, TeamViewer IoT is tailored to work seamlessly with embedded systems, sensors, and other IoT-enabled hardware. This makes it an ideal choice for anyone looking to integrate remote access capabilities into their IoT projects.
With TeamViewer IoT, you can:
- Monitor and manage devices in real-time
- Perform over-the-air updates without needing physical access
- Automate repetitive tasks using pre-built scripts
- Enhance security by leveraging TeamViewer’s end-to-end encryption
For businesses, TeamViewer IoT offers scalable solutions that can grow alongside your operations. And for hobbyists, it provides an easy-to-use platform to experiment with connected devices. Whether you're managing a single Raspberry Pi or a network of hundreds, TeamViewer IoT has got you covered.
- San Diego Uber Driver Forum Your Ultimate Guide For Success
- Mastering Your Finances With Wwwgmfinancialcommyaccount A Comprehensive Guide
Why Choose TeamViewer for IoT Projects?
When it comes to remote access software, TeamViewer stands out for its reliability and ease of use. Here are some reasons why it’s a top choice for IoT enthusiasts:
- Compatibility: TeamViewer supports a wide range of platforms, including Linux, Windows, macOS, Android, and iOS.
- Security: With RSA 2048-bit handshake and AES 256-bit session encryption, your data stays protected.
- Scalability: Whether you're working with a handful of devices or an entire fleet, TeamViewer IoT scales effortlessly.
- Support: TeamViewer offers 24/7 customer support to help you troubleshoot any issues that may arise.
But what about Raspberry Pi? Let’s take a closer look at how this tiny yet powerful device fits into the picture.
Introducing Raspberry Pi
Raspberry Pi is a credit-card-sized computer that packs a punch despite its diminutive size. Originally designed as an educational tool, Raspberry Pi has since become a favorite among hobbyists, developers, and even enterprises. Its affordability, versatility, and open-source nature make it an ideal platform for experimenting with IoT projects.
Here’s why Raspberry Pi is such a popular choice:
- Affordability: Raspberry Pi boards are incredibly cost-effective, making them accessible to a wide range of users.
- Versatility: From home automation to robotics, Raspberry Pi can be used for virtually any project you can imagine.
- Community Support: With a vast online community, finding tutorials, libraries, and plugins for Raspberry Pi is easier than ever.
When paired with TeamViewer IoT, Raspberry Pi becomes even more powerful. Together, they enable you to create smart, connected systems that can be controlled from anywhere in the world.
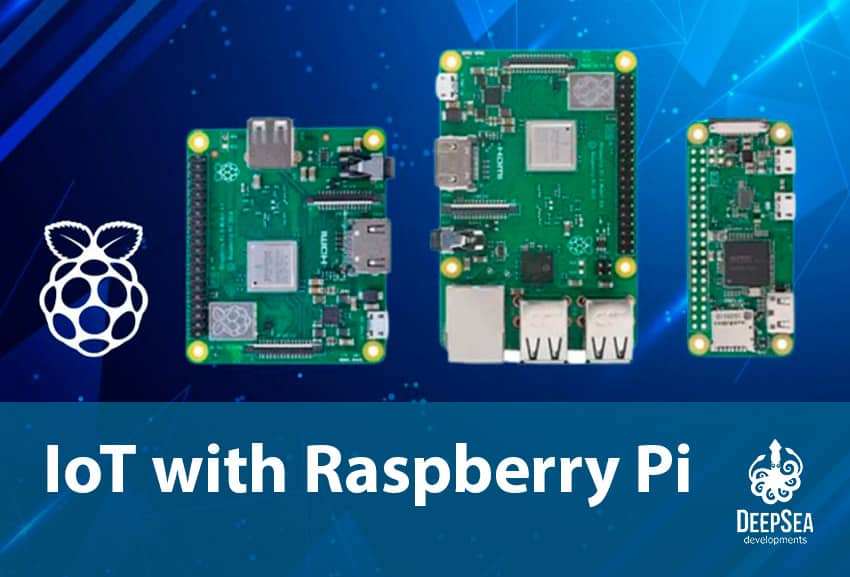
Raspberry Pi Models: Which One Should You Choose?
There are several Raspberry Pi models available, each with its own strengths and weaknesses. Here’s a quick rundown of the most popular ones:
- Raspberry Pi 4: The latest and greatest model, featuring a quad-core processor and up to 8GB of RAM.
- Raspberry Pi 3: A solid choice for beginners, offering a good balance of performance and affordability.
- Raspberry Pi Zero: The smallest and cheapest option, perfect for lightweight projects.
Choosing the right model depends on your specific needs and budget. For most IoT projects, the Raspberry Pi 4 is the way to go due to its superior processing power and connectivity options.
Setting Up TeamViewer IoT on Raspberry Pi
Now that you know what TeamViewer IoT and Raspberry Pi are, let’s walk through the process of setting them up together. This step-by-step guide will help you get started in no time.
Step 1: Install Raspberry Pi OS
Before you can install TeamViewer IoT, you’ll need to set up your Raspberry Pi with an operating system. The easiest way to do this is by using Raspberry Pi Imager, a free tool that simplifies the installation process.
Here’s how to install Raspberry Pi OS:
- Download Raspberry Pi Imager from the official website.
- Insert a microSD card into your computer.
- Launch Raspberry Pi Imager and select the Raspberry Pi OS you want to install.
- Follow the on-screen instructions to write the OS to your microSD card.
Once the installation is complete, insert the microSD card into your Raspberry Pi and power it on. You should now have a fully functional Raspberry Pi ready for customization.
Step 2: Install TeamViewer IoT
With Raspberry Pi OS up and running, it’s time to install TeamViewer IoT. Here’s how:
- Open the terminal on your Raspberry Pi.
- Run the following command to update your package list:
sudo apt update. - Install TeamViewer IoT using the command:
sudo apt install teamviewer. - Follow the prompts to complete the installation.
After installation, you’ll need to activate TeamViewer IoT by logging in with your TeamViewer account. This will allow you to access your Raspberry Pi remotely from any device.
Applications of TeamViewer IoT Raspberry Pi
The possibilities with TeamViewer IoT Raspberry Pi are virtually limitless. Here are some real-world applications that showcase the potential of this combination:
1. Home Automation
Turn your house into a smart home by integrating TeamViewer IoT with Raspberry Pi. Control lights, thermostats, security cameras, and other devices from anywhere in the world. This not only enhances convenience but also improves energy efficiency and security.
2. Industrial Automation
Businesses can use TeamViewer IoT Raspberry Pi to automate repetitive tasks, monitor equipment performance, and perform predictive maintenance. This reduces downtime and increases productivity, ultimately leading to cost savings.
3. Environmental Monitoring
Set up a network of sensors using Raspberry Pi and TeamViewer IoT to monitor air quality, temperature, humidity, and other environmental factors. This data can be used to make informed decisions and take proactive measures to protect the environment.
Best Practices for Using TeamViewer IoT Raspberry Pi
To get the most out of your TeamViewer IoT Raspberry Pi setup, here are some best practices to keep in mind:
- Regular Updates: Keep your software and firmware up to date to ensure optimal performance and security.
- Backup Data: Regularly back up important data to prevent loss in case of hardware failure.
- Secure Connections: Use strong passwords and enable two-factor authentication to protect your devices from unauthorized access.
By following these guidelines, you can maximize the benefits of TeamViewer IoT Raspberry Pi while minimizing potential risks.
Troubleshooting Common Issues
Even with the best setup, issues can arise. Here are some common problems and how to fix them:
- Connection Issues: Check your network settings and ensure that your Raspberry Pi is connected to the internet.
- Software Conflicts: Make sure that no other software is interfering with TeamViewer IoT.
- Hardware Failures: If your Raspberry Pi isn’t responding, try rebooting it or checking the power supply.
If these solutions don’t work, consult the official TeamViewer documentation or reach out to their support team for further assistance.
Future Trends in TeamViewer IoT Raspberry Pi
As technology continues to evolve, so too will the capabilities of TeamViewer IoT Raspberry Pi. Some exciting trends to watch out for include:
- 5G Connectivity: Faster and more reliable internet speeds will enhance the performance of remote access systems.
- AI Integration: Artificial intelligence will play a bigger role in automating tasks and optimizing workflows.
- Edge Computing: Processing data closer to the source will reduce latency and improve efficiency.
By staying ahead of these trends, you can ensure that your TeamViewer IoT Raspberry Pi setup remains cutting-edge and effective.
Conclusion
In conclusion, TeamViewer IoT Raspberry Pi represents a powerful combination of technologies that can revolutionize the way we interact with connected devices. Whether you're a hobbyist looking to build your own IoT projects or a business owner seeking to streamline operations, this setup offers endless possibilities.
So, what are you waiting for? Dive into the world of IoT and discover how TeamViewer IoT Raspberry Pi can transform your projects. Don’t forget to share your experiences and insights in the comments below. And if you found this article helpful, consider sharing it with your friends and colleagues. Together, let’s build a smarter, more connected future!
Table of Contents
- What is TeamViewer IoT?
- Introducing Raspberry Pi
- Setting Up TeamViewer IoT on Raspberry Pi
- Applications of TeamViewer IoT Raspberry Pi
- Best Practices for Using TeamViewer IoT Raspberry Pi
- Future Trends in TeamViewer IoT Raspberry Pi

Detail Author:
- Name : Ruthie Bogisich
- Username : vkihn
- Email : dallas.hartmann@aufderhar.info
- Birthdate : 1986-01-03
- Address : 8920 Erin Prairie Suite 955 Schustershire, VT 58293-9251
- Phone : 1-307-942-1347
- Company : Marvin Ltd
- Job : Upholsterer
- Bio : Voluptates aliquam alias labore atque vel quia. Est aut at magni asperiores architecto quidem sit. Omnis esse natus ut ex voluptatibus.
Socials
tiktok:
- url : https://tiktok.com/@joelle379
- username : joelle379
- bio : Veniam pariatur omnis facilis aut non natus autem.
- followers : 4118
- following : 2261
twitter:
- url : https://twitter.com/gutkowski2020
- username : gutkowski2020
- bio : Cumque numquam veniam ut aperiam quas ea. Quo aliquam numquam velit et ratione. Animi ullam aperiam dolore.
- followers : 6133
- following : 11
linkedin:
- url : https://linkedin.com/in/gutkowski2011
- username : gutkowski2011
- bio : Ut expedita debitis et et.
- followers : 5140
- following : 2284
facebook:
- url : https://facebook.com/joelle.gutkowski
- username : joelle.gutkowski
- bio : Quae omnis doloremque occaecati. Non consectetur et impedit saepe et et.
- followers : 3492
- following : 49
instagram:
- url : https://instagram.com/gutkowski2001
- username : gutkowski2001
- bio : Est maiores cupiditate odit sequi odit. Libero est libero et eum culpa aliquam.
- followers : 6509
- following : 2957

 continues to expand, integrating tools)